If you love wallpaper but just want something temporary, removable wallpaper (also known as peel and stick wallpaper) sounds like the best of both worlds! You get the pattern you love, but you get to take it down later without damage to your walls, which is perfect if you live in an apartment or are renting your house. Or maybe you just want the flexibility of being able to change your mind later and get a whole different wallpaper when design trends change. Or, perhaps budget is a factor or you enjoy DIY projects, and this is exactly the kind of thing you’d like to do yourself.
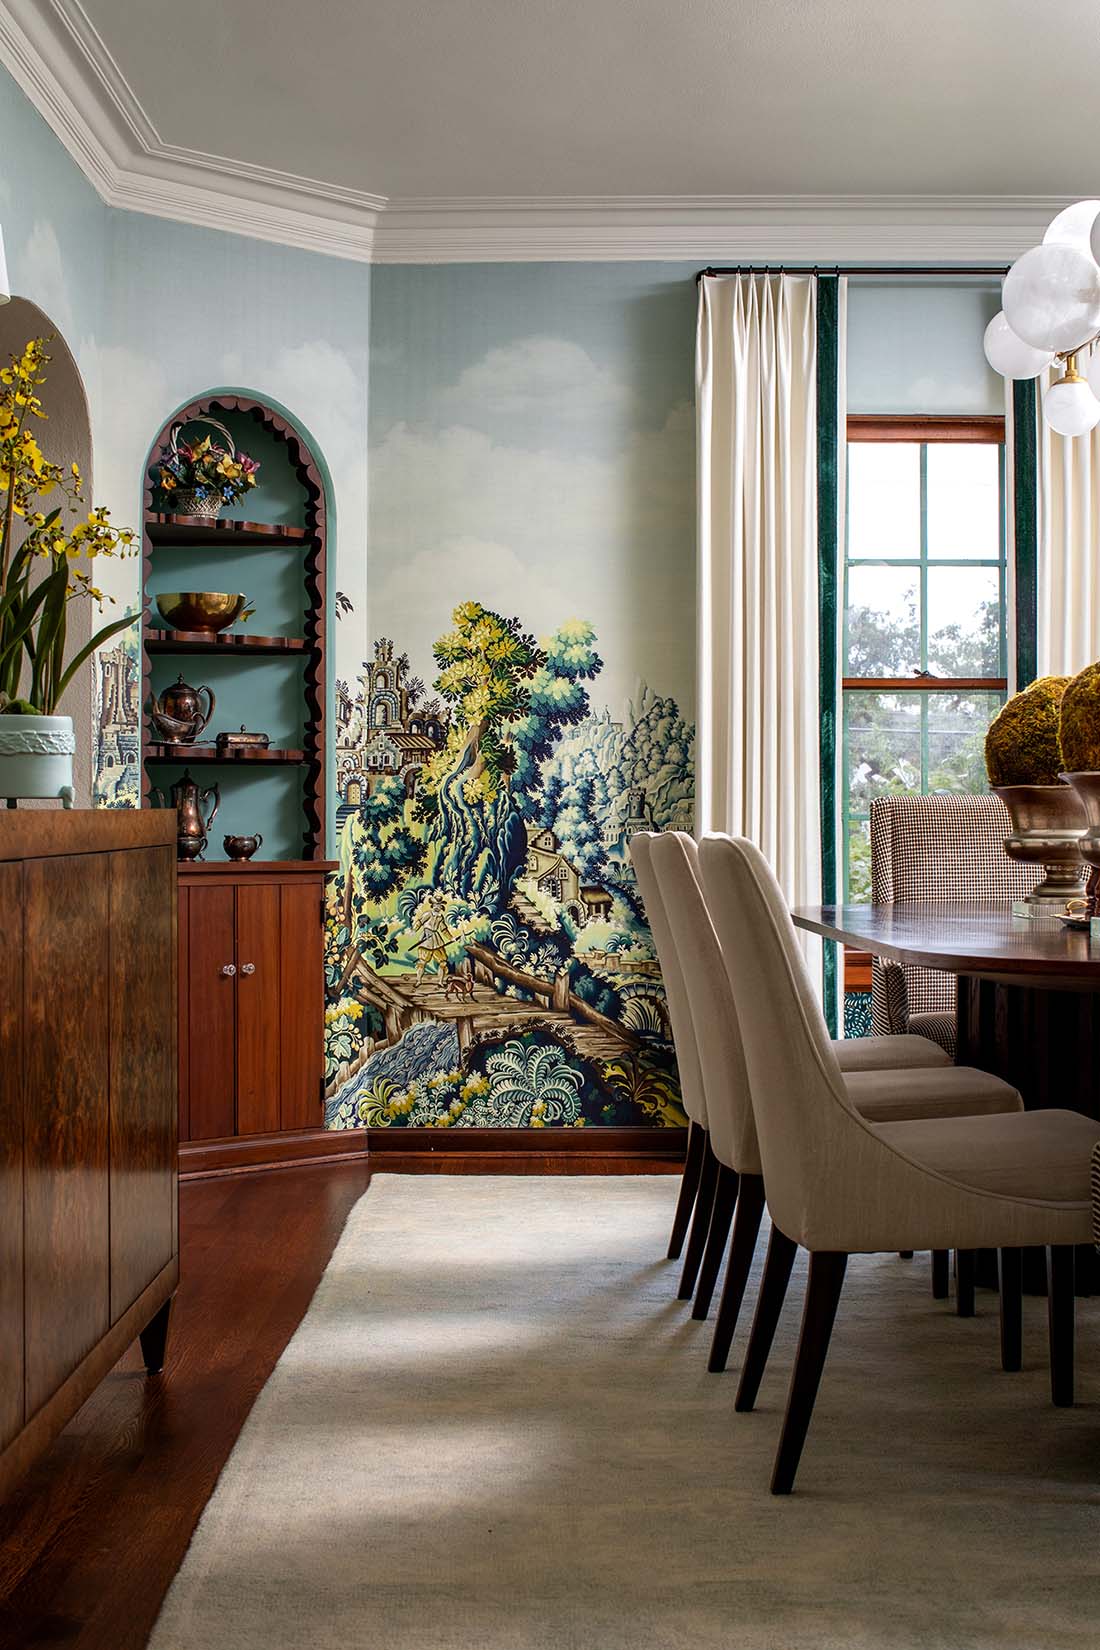
Either way, peel and stick wallpaper seems ideal. There are so many delicious patterns, and even more now that makers have started creating their own and selling them on places like Etsy. Even heritage wallpaper houses like York Wallcoverings have peel-and-stick versions of their best designs – including the “Banana Leaf” wallpaper we installed in this fabulous kitchen. (We’ve got a whole list of suppliers in our post on where to buy wallpaper, but some helpful hints on how to choose wallpaper online.)

How does removable wallpaper, or peel and stick wallpaper, actually perform?
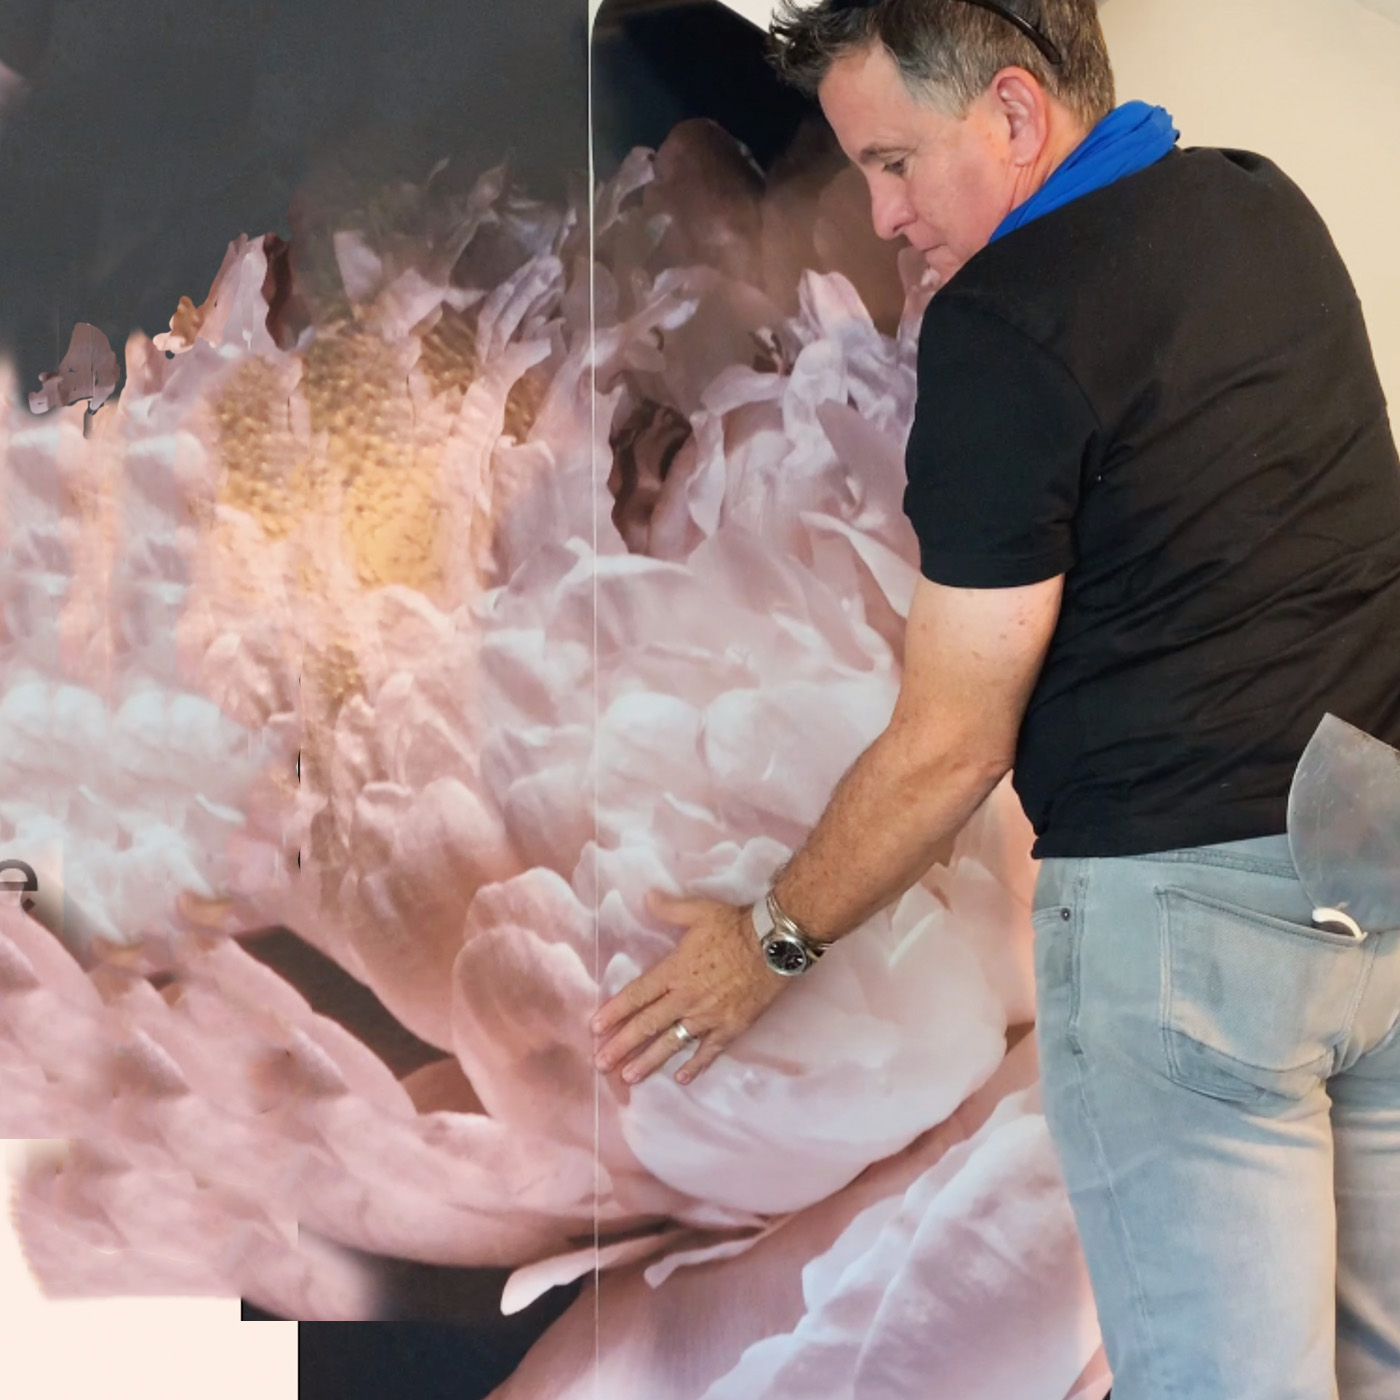
Since one of our owners, Peter Moon, used to be a wallpaper installer back in the day, we wanted his expert opinion. And when his daughter asked if he’d hang a removable wallpaper at her apartment for her soon-to-be-born baby girl, we had the perfect opportunity to show you how a professional wallpaper hanger would install it . . . and to give you our assessment!
Will I need any special tools to install peel and stick wallpaper?
Nothing really special, but you will need a 5″ or 6″-wide putty knife like this one (also called a “joint knife” or “taping knife”):

And you’ll need a craft knife like this one (this link is to a box of 24 knives – you only need one!):

(You could use an X-acto knife or a box cutter also, but professional wallpaper hangers like knives with snap-off blades like this one, because you can snap down to the next increment of blade when you need a fresh, sharp edge.)
Here’s the removable wallpaper itself, that we ordered off Etsy. Isn’t it gorgeous?
.

.
Like this one did, your removable wallpaper will no doubt come with a little squeegee-like “smoother”, with a soft edge that’s wrapped in felt or similar fabric, that you use to smooth the wallpaper onto the wall without scratching it. Plus installation instructions, of course. That’s it really. After all, removable wallpaper is designed so that you don’t really need to go buy any special tools.

.
Now the good stuff – here’s our video showing how we install removable wallpaper, starting with the first strip:
.
We know, it’s riveting entertainment! Before we go on to the next strip, a few things worth mentioning:
1. Mostly likely, your wall has a subtle texture, like the “orange peel” texture on the wall in the video.

Before you start hanging your removable wallpaper, take your wide putty knife and scrape off any obvious protrusions in the texture, just the ones that really stand out. This will keep those protrusions from sticking out like sore thumbs under your paper. We show you this in the video. Just be aware that you may have to touch up those scraped spots later when you take down your paper! If you don’t have touch-up paint handy, be sure that you’re okay with this before you actually commit.
And note: those bumps will be visible underneath your paper!! We show you why in our peel and stick wallpaper “pros and cons” post, which summarizes our findings.
2. Peter is obviously comfortable with installing wallpaper, but even so, this isn’t rocket science. It took him maybe 7 minutes to install that first strip. For a novice, you might figure it’ll take a half an hour. The biggest challenge will be to make sure you’ve smoothed out any large bubbles, and dealing with any outlets in your way.
Now we install the second strip:
The main takeaway here is making sure your seams line up! Again, this strip took Peter maybe 6 minutes, but even for a novice, it might take 20 minutes or less. I purposefully did not speed up the video, so you could see how long it takes in real time.
Now, strip No. 3 on your peel and stick wallpaper odyssey:
By now you’re noticing a pattern here (no pun intended):
-
- Peel away enough of the backing paper so that you can line up your pattern and stick the top part of your strip to the wall.
- Smooth down the paper section you just stuck in place.
- Cut away the wallpaper at the ceiling line.
- Keep peeling down the backing paper and smoothing the strip down into place, making sure your seams match.
- Cut away the bottom, at the top of your baseboard.
Does anything change about the installation when you get to the last strip of your removable wallpaper? Yes!
For the last strip, you’ll have to deal with the corners of your wall, at the top and bottom. You didn’t have to deal with the corners when you installed the first strip, because you just started your installation by lining up the edge of the wallpaper to the edge of the wall. But for your final strip, your wallpaper will extend beyond your wall edge (unless you’ve custom-ordered your peel and stick wallpaper to the EXACT dimensions of your wall, but it’ll rarely line up perfectly, since buildings – and walls – aren’t ever perfectly squared up).
We show you how to deal with those pesky corners and give you our conclusions on removable wallpaper (including our opinion on how the wall texture shows through), in Part 2!

