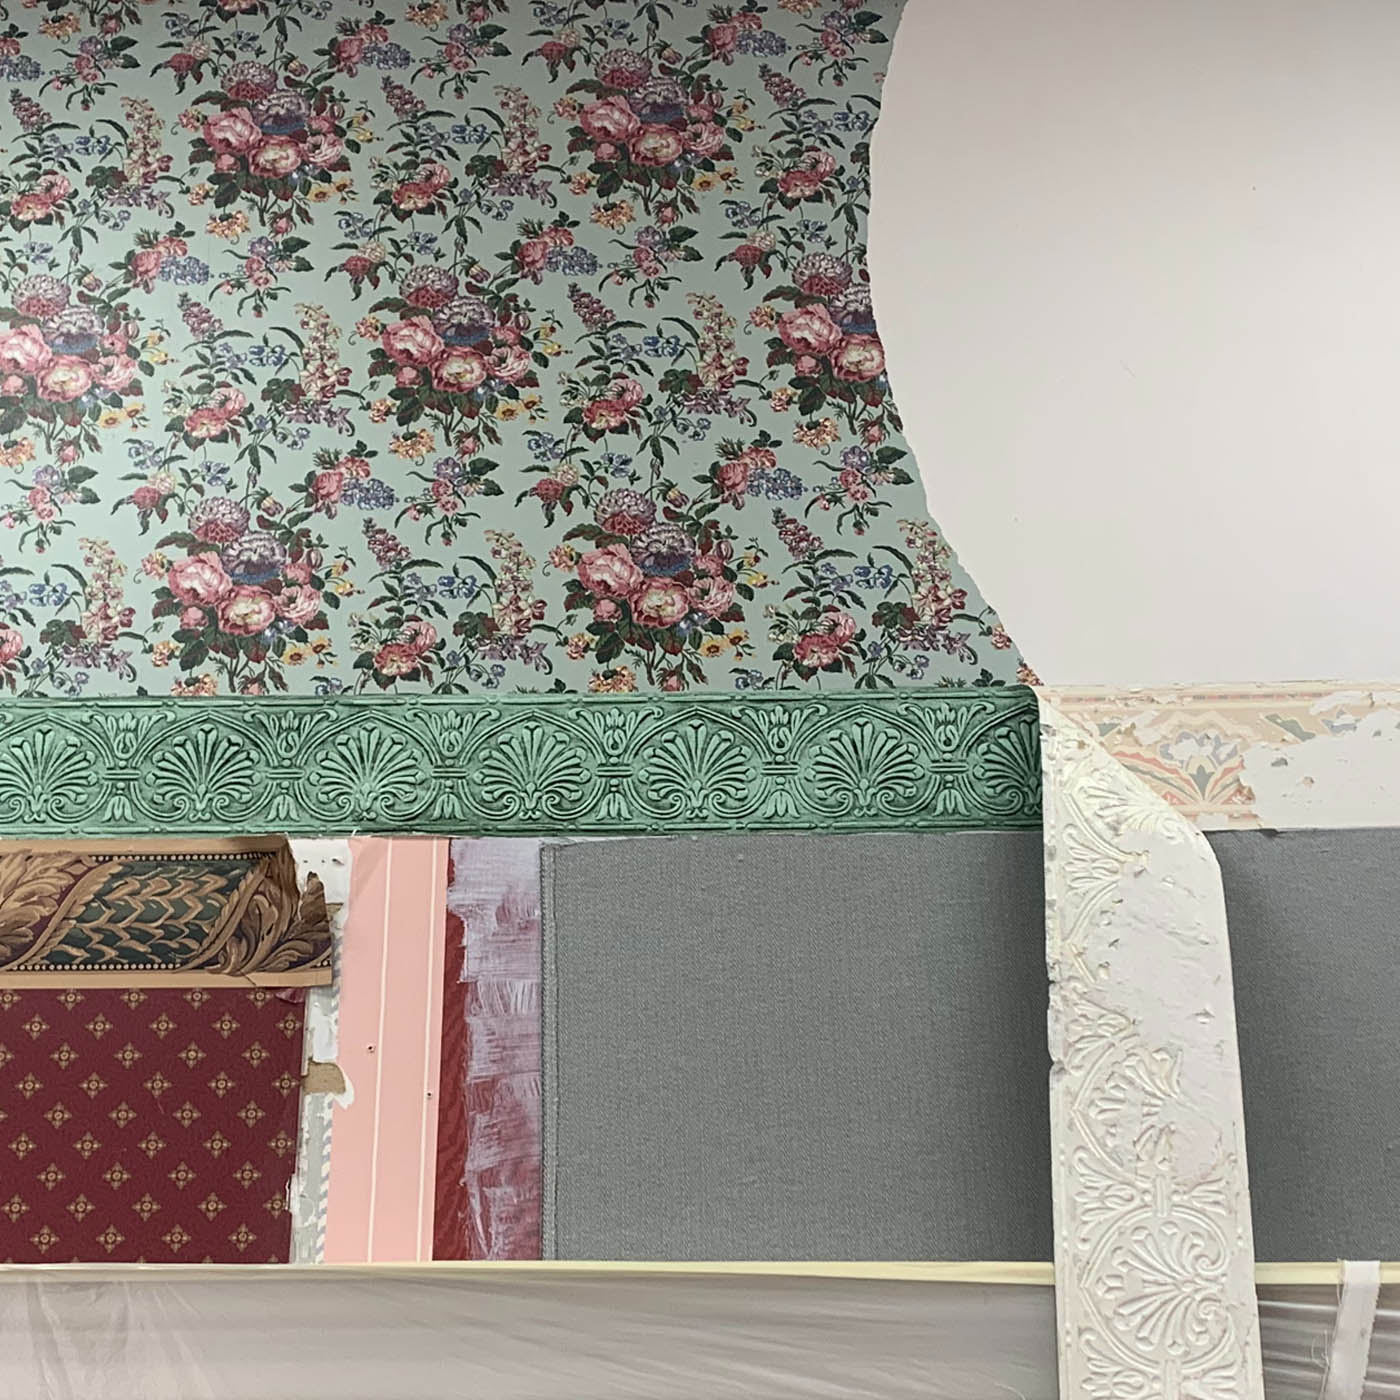
We’re back for Part 2 of the gripping story that had you all on the edge of your seats at the end of Part 1: “I looked up how to remove wallpaper from the wall, I swear it was put on with cement, removing wallpaper is the bane of my existence but it still needs to come off, now what??”
You took a razor knife and tried removing wallpaper yourself to assess the situation
As we discussed in Part 1, one of 4 things happens:
- The wallpaper comes right off. Yippee!! (Who said removing wallpaper is hard, anyway?!?)
- It comes off only in tiny pieces. (Curses.)
- It comes off well in some places, but tears the wall up in others. (What the…?!)
- Only the vinyl front comes off, leaving a paper backing. Hmm.
Let’s see how to remove wallpaper in each of these four scenarios
Scenario #1 – the best possible scenario when removing wallpaper – it comes right off.
The gods be praised, somebody properly sealed the walls before installation and used a strippable glue.
Pull the wallpaper off in big sheets. It won’t be perfect, but you should only have some residual glue to deal with. At this point, simply to give the whole area a light sanding, then apply an oil-based primer, such as Kilz Complete. After that you can proceed to paint, texture or re-wallpaper, taking care to spackle out any wall inconsistencies first, and re-priming over the spackled areas.
Scenario #2 – the wallpaper comes off only in tiny pieces.
It doesn’t want to come off, so stop trying to force it. We can’t give you a magical solution or recipe for how to remove wallpaper in this scenario, where the original bond of the wallpaper to the sheetrock is stronger than the structural integrity of the paper itself. No need to worry, however.
Give a good rough sanding to the seams, apply an oil-based primer, pull off any areas that bubble, then float or spackle out any seams that show and any areas that bubbled and were torn off. To be honest, you’ll probably save yourself time by just re-floating the wall completely with fresh sheetrock mud, rather than tackling small spots with a putty knife and some spackle. If you need to, re-float a second time, and then prime. Then it’ll be ready to paint, texture or cover with fresh new wallpaper.
I know this sounds like a lot of work, but it’s better than if you struggled to tear off every square inch, and then STILL had to sand-spackle-prime over all the damage you caused. Small remnants of the paper are sticking to your substrate, and scraping away at everything is just going to weaken your sheetrock. Time to put a whole new surface on top of that old wall covering.
And if you just feel funny leaving the old wallpaper underneath, think of it this way: the wallpaper is actually reinforcing your existing sheetrock. Taking it off would only weaken or strip away the top layer of the sheetrock (which is actually like a paper in itself), and cause more problems than it solves. Your walls will thank you for leaving the reinforcement layer in place.
Scenario #3 – removing the wallpaper works well in some places, but it tears up the wall in others.
Of the four possibilities, this is the one that usually sucks people into the vortex of doom. It comes off so easily at first that you start to remove it all. Then it begins to tear up the walls here and there. Next thing you know you’ve been at it for hours and the walls look like Kujo the wolf was locked up in there.
So when you first notice the walls starting to tear up, just stop and follow the directions for Scenario Number 2 above. Trust me, I have seen grown men reduced to tears . . . either for the time and misery they’ve caused themselves, or for the price they’ll now have to pay me to correct this debacle.
Scenario #4 – only the vinyl front comes off.
And finally, if the backing stays on the wall when the front comes off, do as follows:
Get a sponge and really saturate a two-by-two-foot square in the middle of the wall. Wait a few minutes, then saturate it again. Wait a few more minutes, then pick a corner and peel. Often times the backing will peel off just as easily as the front did, sometimes better. If this is the case, then get to saturating the entire thing. The key here is getting the paper as wet as possible several times without making a complete sloppy mess all over the floor. Once the paper is off, then proceed to the directions for Scenario # 1 above.
If the backing doesn’t seem to want to come off, then treat it like # 2 above. The only caveat is that if you want to texture and/or paint over the primed backing, you might want to skim-float the entire area with a super thin coat of joint compound, thereby making sure that the little hairy bumps from the backing don’t show through.
I know that’s all a little technical, but if you ever find yourself in the midst of removing wallpaper and wondering how to proceed, the knowledge will be indispensable. Of course, most people people would happily rather pay a professional to avoid these situations. Or they go for removable peel and stick wallpaper, which has its own challenges. But for those of you brave enough to enter in willingly and start removing wallpaper yourself, this advice is my homage to you!

