
Want to know how to get a lime plaster estimate for your home? Getting a lime plaster estimate involves more than just sending us your room’s length and width. We’ll walk you through the process!
Different types of plaster
The first step is knowing exactly what kind of finish you want for your home.

Lime plaster? Or limewash painting??
It may seem elementary, but it’s important to know whether a plaster finish is really want you want! A lot of inspiration photos on Instagram or Pinterest will show a “lime finish” of some kind, but the term could equally refer to lime painting or limewash finishes, not just plasters. Sometimes it’s hard to tell from a photo, if the original poster hasn’t specified what was used.
Limewash painting and lime plasters both have a lovely, organic vibe with natural color variations within the finish. But there are differences. Limewash or lime painting produces a matte, velvety look with visible brushstrokes, whereas plaster finishes will look and feel more like natural stone. We wrote extensively about the differences, so you can look at inspiration photos with an educated eye! And if its actually a limewash painting finish that you want, we can provide a lime painting estimate for you too.

Natural vs. synthetic plasters
Specialty plasters burst on the scene about twenty years ago, when the “faux finishing” trend was in vogue. At that time, most finishes were done using synthetic, or acrylic-based plasters. Even though natural, lime-based plasters have existed in some form for millennia, most manufacturers have been in Europe, which made them cost-prohibitive for the average homeowner.
No longer. Manufacturing and import costs are down, and there are enough stateside makers of lime-based plasters to provide plenty of options. Acrylic-based plasters are still around, but they tend to have an almost plastic feel to them, unlike the natural authenticity and organic vibe of lime plasters. Except in unusual cases, there is no reason to settle for an acrylic plaster when the real thing is so readily available.
Course vs. fine finishes

Assuming you’re getting a lime plaster estimate (rather than a synthetic plaster), you next decision will be whether you want a courser or finer finish. We’ve done both, with all kinds of gradations in between, and they’re all lovey in their own way.
Lime plasters are made with three main ingredients – lime (from limestone), sand, and water. The grit of the sand used will determine how coarse or smooth your finish will be. In the case of ultra-fine finishes such as Venetian plaster, marble dust is added, which results in a polished, marble-like feel.
Right now, most designers and homeowners are asking us for a relatively smooth plaster that has just a bit of small-grained aggregate, so that it looks less like marble and more like a well-sanded stone. This popular finish seems to hit the sweet spot – it isn’t so coarse that it looks like exterior stucco, but also isn’t so smooth that you can’t tell the walls are plastered.

Matte vs. more burnished sheens
You’ll also need to decide how much of a sheen you want on your finished plaster. This is related to how coarse or smooth you want your plaster to be, since usually the finer-grained plasters can deliver a higher sheen. This is achieved by “burnishing” the plaster after it’s applied, and it’s a fairly labor-intensive process! But glossier sheens can look a bit dated if you’re not careful. Most lime plasters nowadays have a more natural “matte” sheen, which might not even be noticed unless the light hits the wall just right.

Choosing the right color
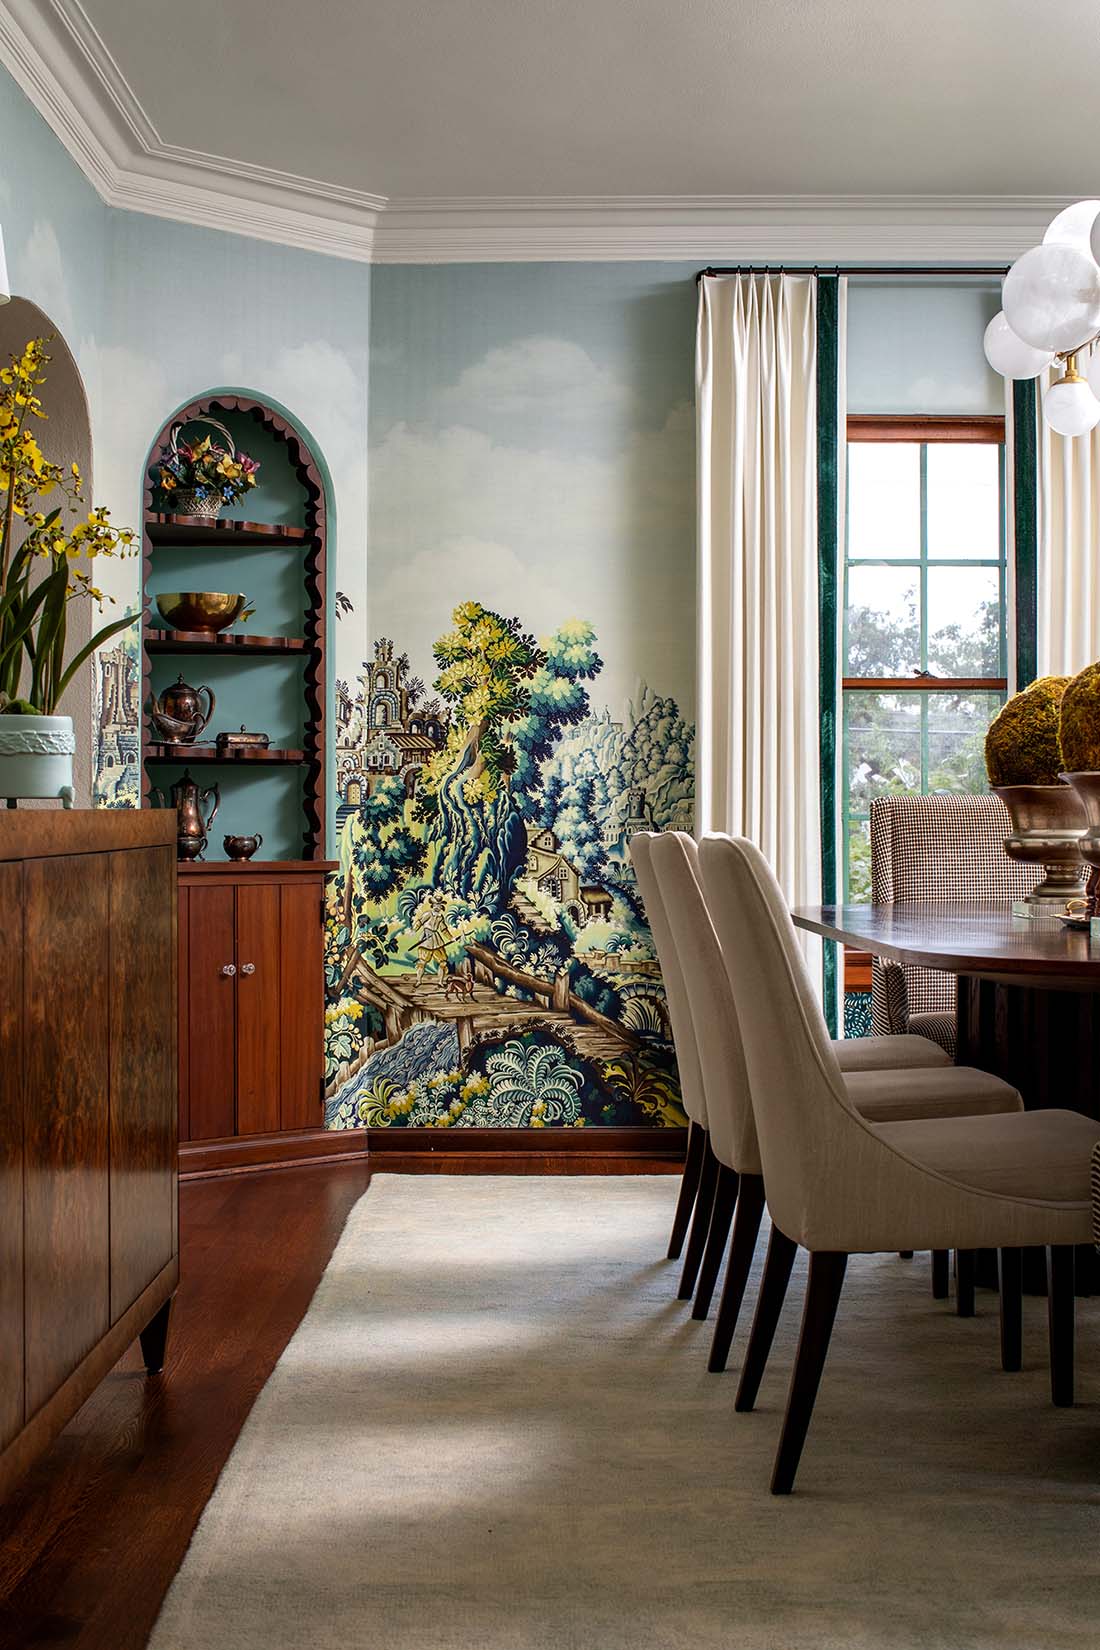
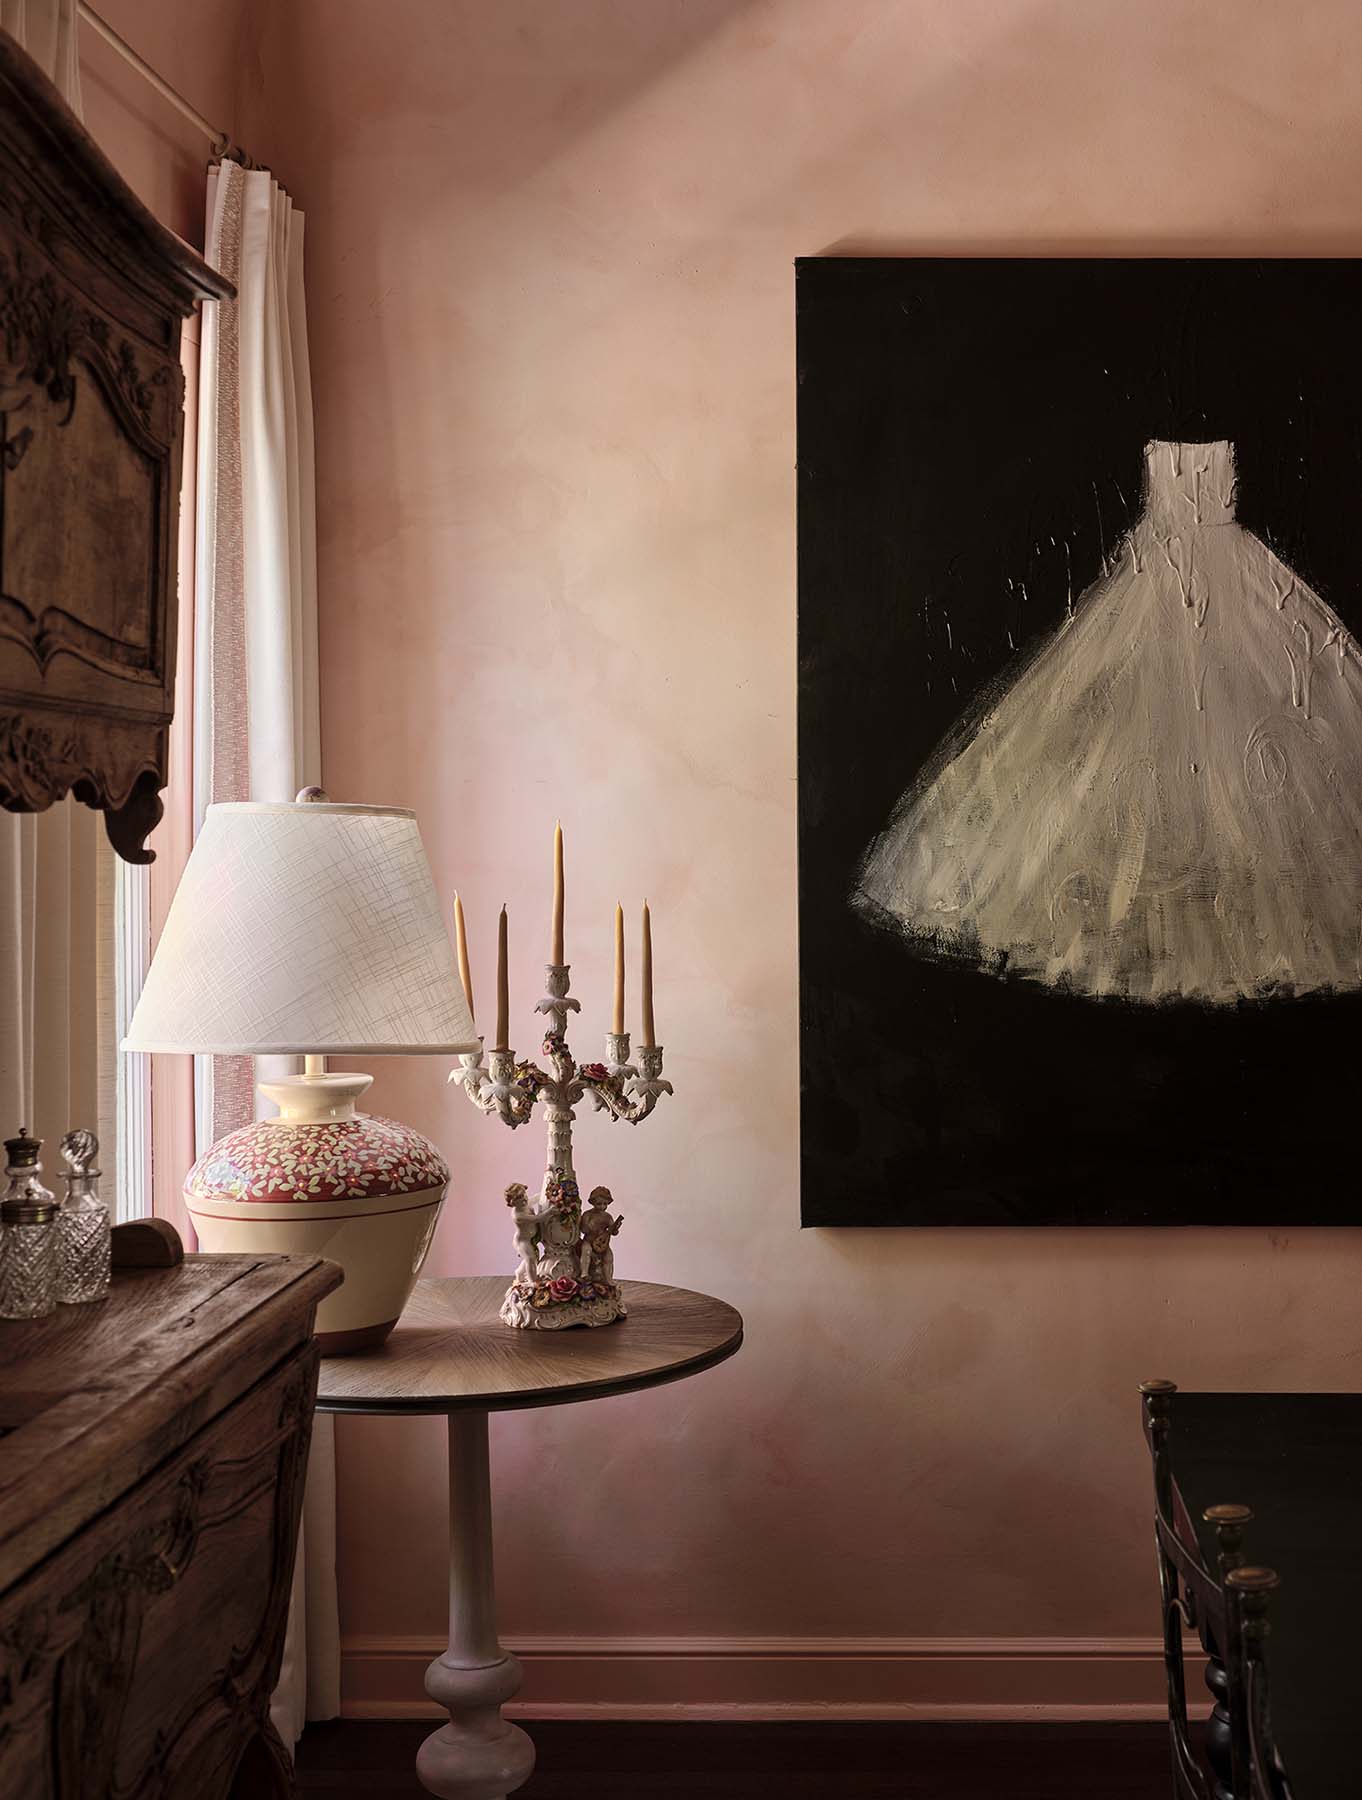
Finally, the choice of color. Off-whites, light neutrals, and nature-based tones are classic, but you can also pick a stronger color like a deep, rich blue, cheerful gold, or vibrant red.

In general, the darker the color, the more the natural variations of light-and-dark within the finish will be visible.

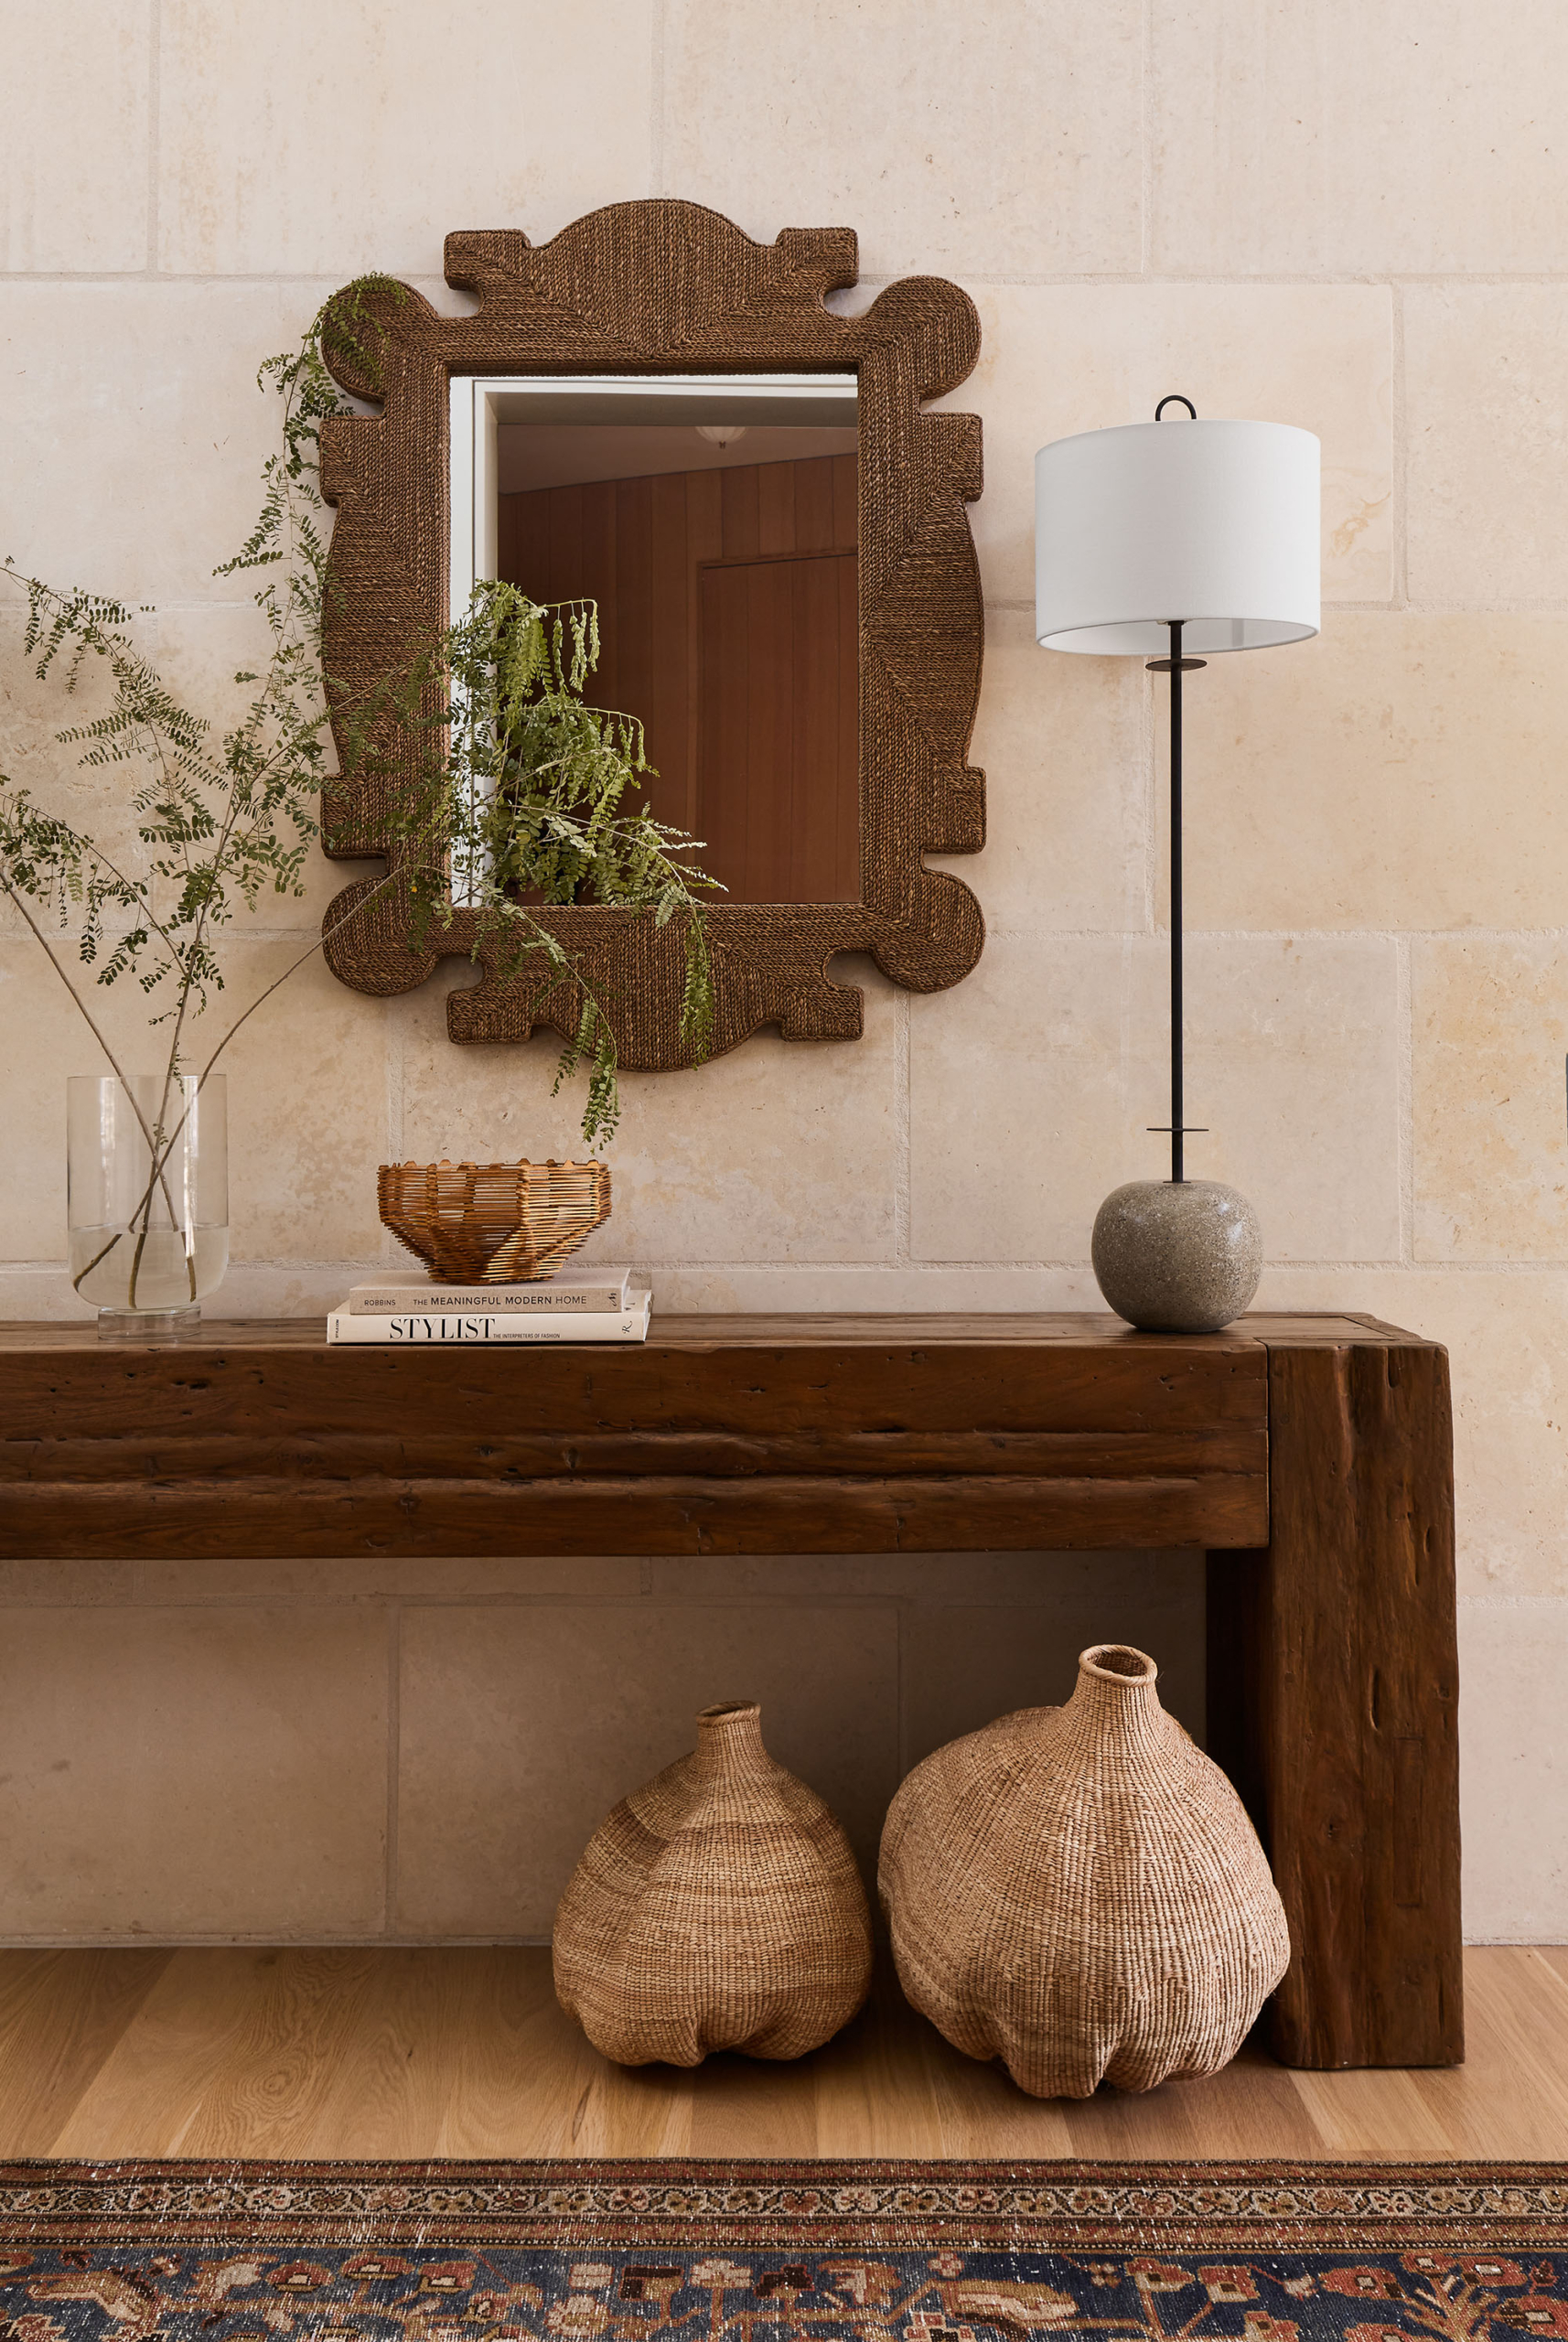
Lighter colors are more subtle, especially when they’re left largely unburnished. With an off-white plaster in a matte sheen, it may be hard to tell in a photo that the walls have been plastered, although you’ll feel the difference when you’re in the space.

All this is why we’ll make you a custom sample in the finish of your choice, once you’ve approved your lime plaster estimate. There are so many variables to consider, it’s important to see an actual sample, so you can have confidence in your decision.
The steps to getting a lime plaster estimate
Gathering information
Whether you send us an email with the information below, or you set up an in-home consultation and our estimator gathers this information, first we need to know what we’re estimating!
Inspiration photos
Step One on how to get a lime plaster estimate will be deciding exactly which finish you want, based on the factors above. If you have some inspiration photos but aren’t sure how to get there, we can have a conversation to pinpoint exactly what might work for you. Send us any inspiration photos you have.

Dimensions
Next we’ll need the dimensions of your space. No need to worry about windows or doors, just a general measurement of your room’s length, width and height will work.
Any existing texture?
Lime plasters need to be applied over a perfectly smooth surface, what we call “wallpaper-ready” or a “Level 5” finish in contractor lingo. If your room has already been textured and painted, we’ll need to account for the cost of smoothing your walls in your bid.
Photos of your space
Send over some photos of the space as it looks now – a few snapshots from your phone will work fine. We need some wide shots to show the overall space, plus a close-up to show the existing texture.
To recap, we’ll need the following for your lime plaster estimate:
- Inspiration photos
- Dimensions of your space
- Clarify existing texture
- Photos of your space
Approving your lime plaster estimate
With this information on hand, we can create your lime plaster estimate and send it to you for approval! If the numbers work for you, then we can get you a custom sample.
Making a custom sample

This step is so important! Unlike regular painting, a lime plaster finish is meant to show subtle variations in color or texture. As we explain in our blog on getting a limewash paint estimate, these are hand-done finishes with an artisanal feel. Variations are to be expected, and are a hallmark of the authenticity of these finishes. It can be hard to pick up on these variations in a photo, unless you’re looking at a sample up close.
If our estimator comes to your home for your consultation, they’ll bring some samples with them, and if one of those is exactly what you want, then great! But if not, we’ll make a sample for you, if your lime plaster estimate works with your budget. A custom sample that you can see and feel is the best way to make sure the finish on your walls will look reasonably close to the finish in that Instagram photo.

Sometimes an inspiration photo will mention exactly the product and color used, but that’s rare. If you have your inspiration photos but don’t know the exact color, never fear. Depending on your choice of plaster, we can either use a paint color as a reference and get the plaster custom-tinted, or you can browse the online color galleries of your chosen plaster and let us know which color you like.
If you give us a paint color as a reference, we’ll get your plaster made (when possible, depending on the specific type of plaster) to match. Think of the paint color as a starting point. It’s not possible to match a natural lime plaster to any paint color exactly, since there will be microscopic differences in how the lime absorbs the colorant. And the plaster will have a more “granular” look than paint, which is part of the appeal of a plaster, of course. There will be visual lights and darks, subtle variations within the plaster that make it vary slightly from the paint color it’s matched to, but again, that’s part of the charm. (If you wanted a surface with no variations whatsoever, you’d just paint it.)
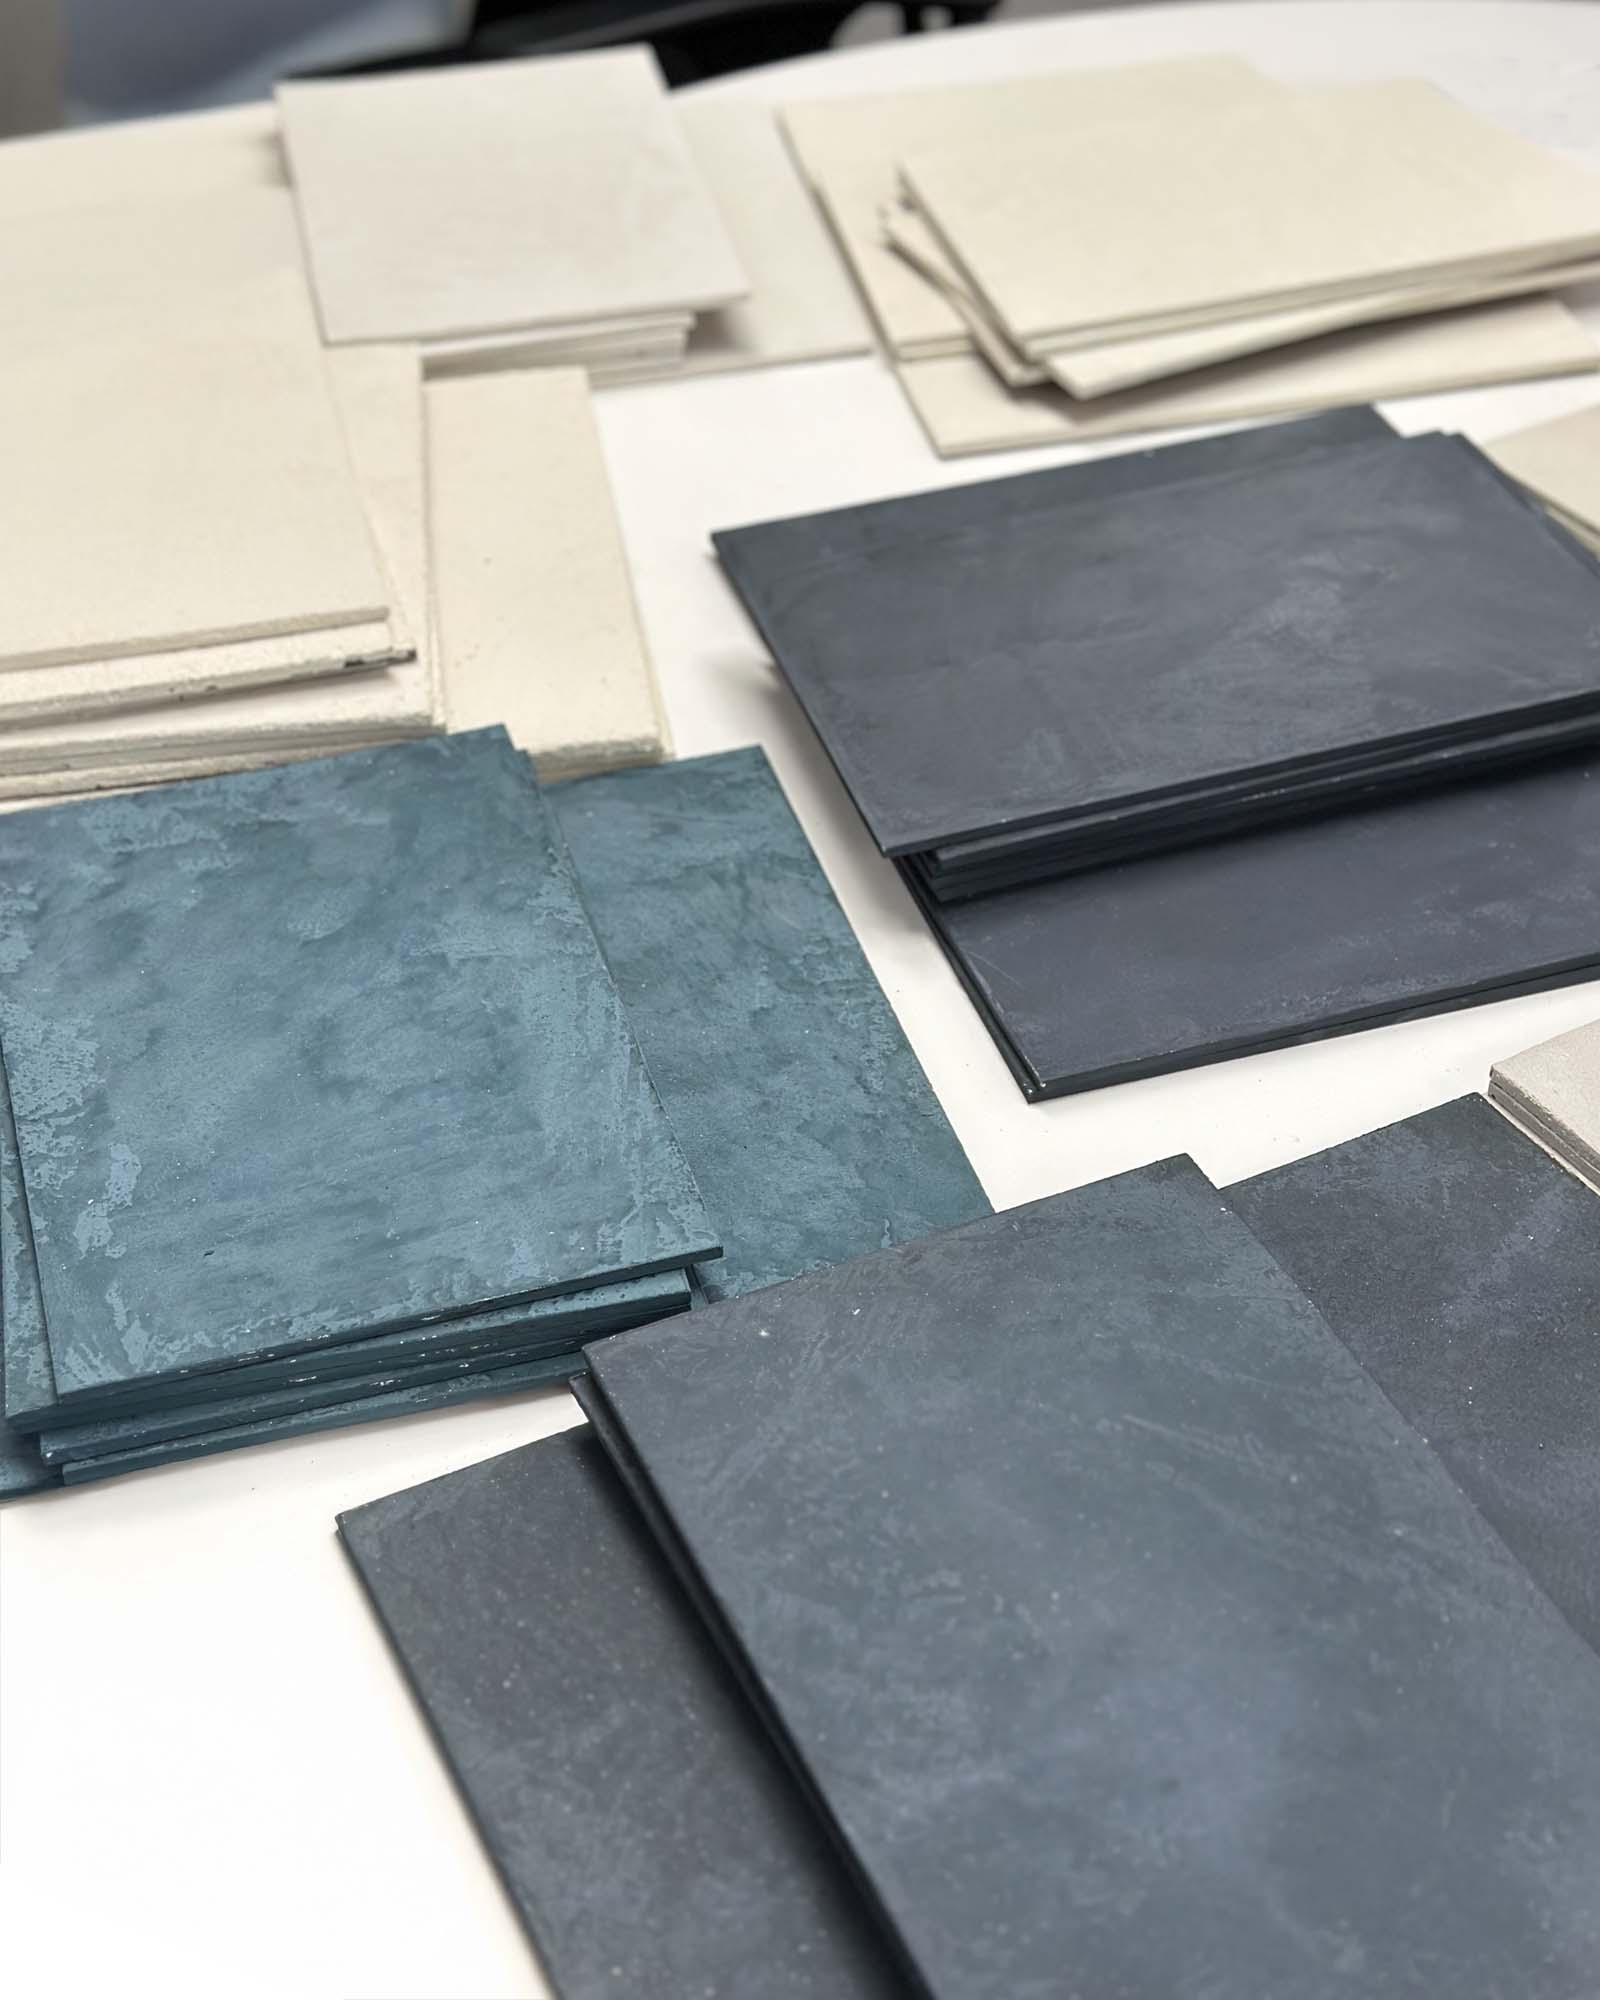
In this plaster sample, Benjamin Moore’s “Natural Elements” (the third color down on the strip) was the reference paint color for the plaster sample:

Sometimes it’s better to pick one of the “stock” plaster colors made by the various manufacturers. Vasari Plaster and Color Atelier all have pages showing their various color options, plus gallery pages showing which colors were used in actual project photos. You can look at their color swatch pages to pick something you like, then see if that color is shown in an actual project on their gallery pages. Or start with the gallery pages to find the look you want. Try Vasari’s Marmorino gallery, their Carrera gallery (for a slightly coarser, more rustic plaster), and Color Atelier’s lime plaster gallery, to start.
This process takes time. From the moment you approve your estimate and send us a deposit so we can order materials, it can take a week or more to get the plaster shipped to us and make your sample. We’re as eager to start plastering your walls as you are, but the sample – and the final result – is worth waiting for.
Usually we nail it on the first try, but if the custom sample isn’t exactly right, we can make another. We might just need to order more materials – we’ll let you know if there’s any cost for that, which would be only to cover our time and expenses.
Getting your project scheduled
Now the fun begins! With your lime plaster estimate approved and custom sample in hand, you can look forward to seeing the gorgeous transformation in your own home. We’re happy to help you on the journey!